This Guide is translated from: here
- Install OPTK
The installation of OpenpilotToolkit (OPTK) is very simple. Just go to
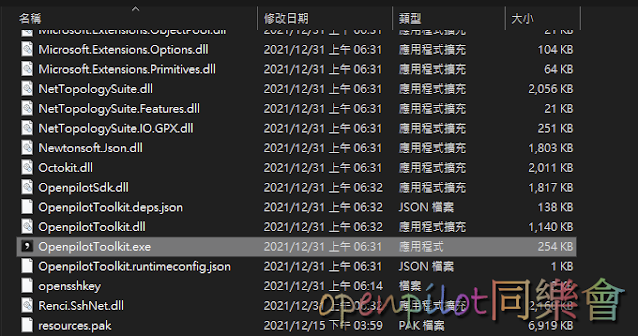
Windows version OPTK installation:After decompressing the downloaded 7Z file, you can execute OpenpilotToolkit.exe
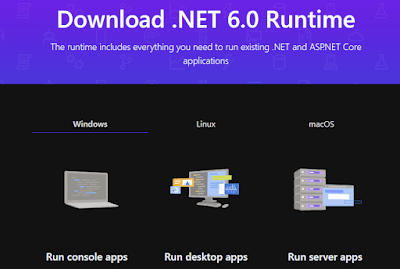
After execution, you will be asked to install MS.NET 6.0 / MS.NET 7.0 . Just select the Desktop version to install.
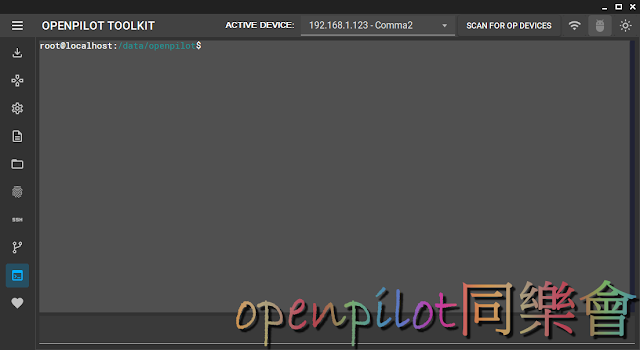
Then you can enter the OPTK homepage. The system is very smart and will search for comma devices in the same network domain from the beginning. First, let’s talk about a direct connection method:
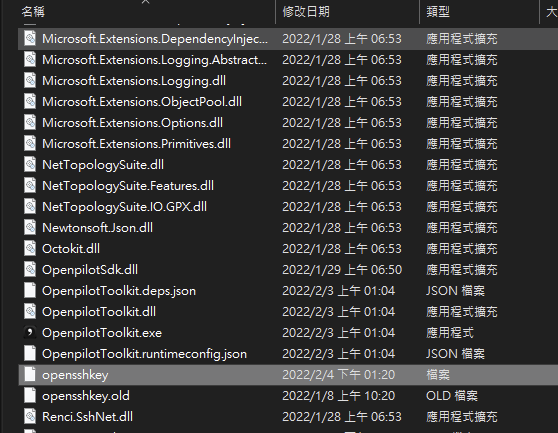
Use this public key and replace the original ‘opensskhey’
overwrite the file opensshkey in the OPTK folder, and reopen OPTK to connect to your C3.
If you want to regenerate your own key, please follow the steps below.
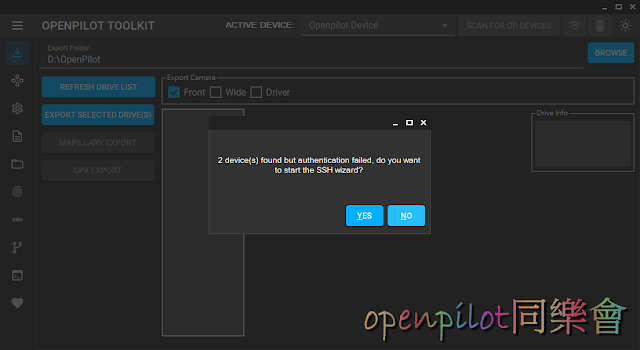
After clicking YES, you will be asked to set up your SSH private key, which is your Github account (so you must register an account at Github)
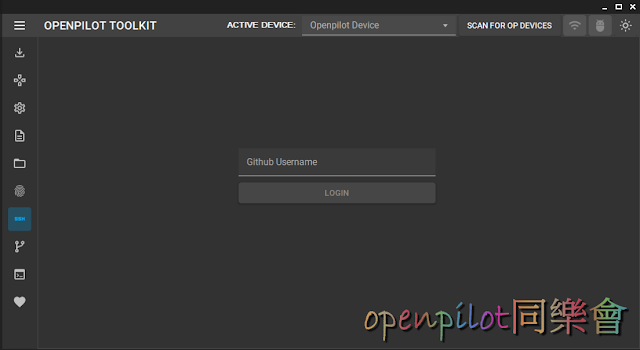
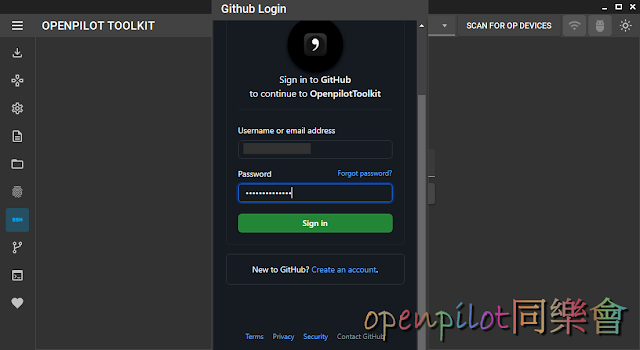
This SSH button enters the mode to automatically generate an SSH KEY. Follow the instructions to enter your account and click ‘Login’, after which you will be required to log into GitHub once (you only need to register once initially, but if OT is reinstalled, you will need to generate the private key again, so do not repeat this step).
Each time you press this function, the content of your original opensshkeys will be cleared, so do not repeatedly execute this procedure. If you already have a new vagopclub key on C3, do not click on the SSH function. Instead, overwrite it directly and then click the terminal button below to connect.
Later, I will be asked to authorize the OT developed by spektor56. Don’t think too much. Of course, you must authorize the OT for use. Otherwise, how can you use OT~

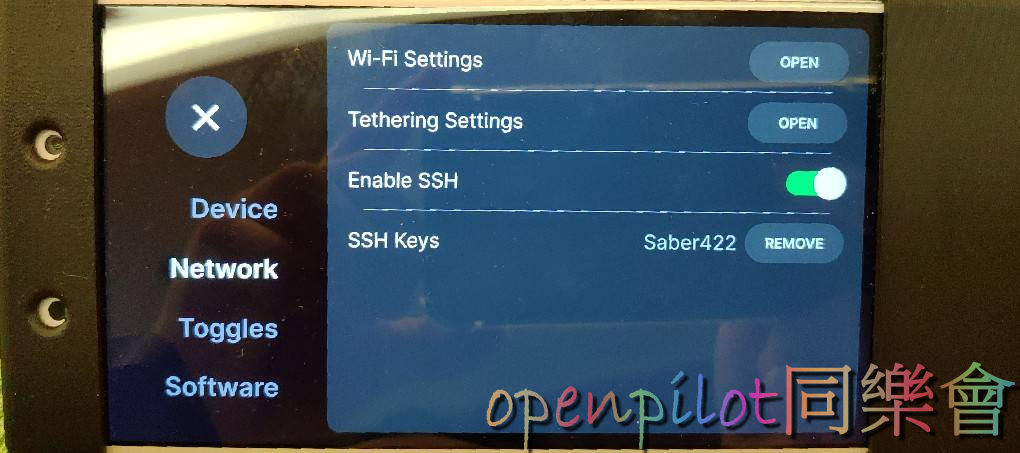
Next, OPTK will notify you that a new SSH KEY has been generated in your GitHub account. Then, go to the Network menu in the settings of O1 and enable SSH. If you already have an SSH Key, you need to delete it and add it again (remove/add). The private key in O1 will not automatically update. If OPTK runs the private key generator process again (or if you click to add a new one), you must delete and then add it again (remove/add) in O1 to have the latest SSH Keys.
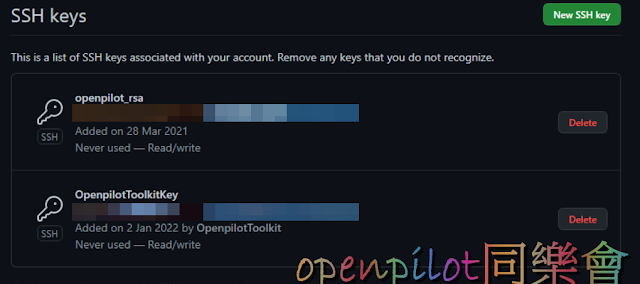
If you go to your Github account, you can see that a new OT-specific SSH Key has been added at the bottom.
As long as the device rescans (Scan), it will find the device in the network domain
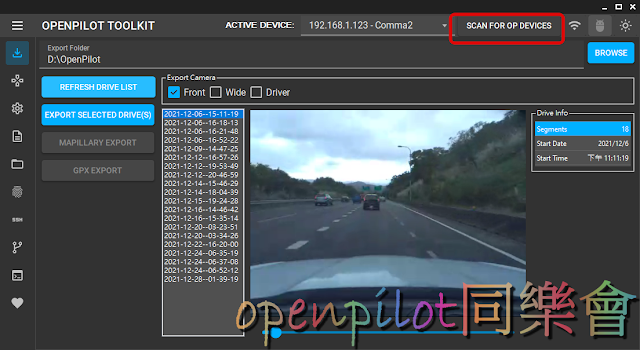
Other functions are under development, but they are already very useful. You can also connect via SSH and flash the version to make settings~~
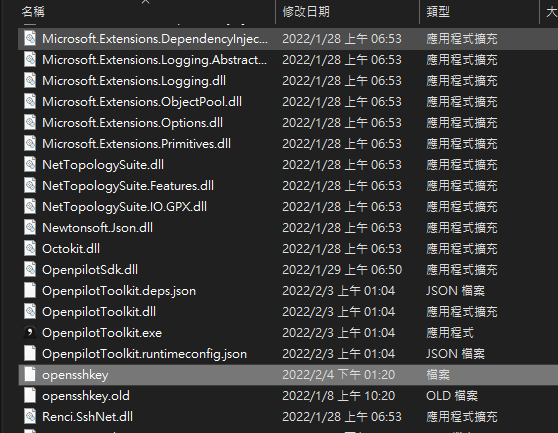
As for your key, when you connect to C2 or C3 through OT boot, opensshkey will appear in the OT folder. This is the key file that can connect to FTP or SSH.
2. Next is how to SSH FTP to your C2 or C3
Windows: FTP to connect to C2
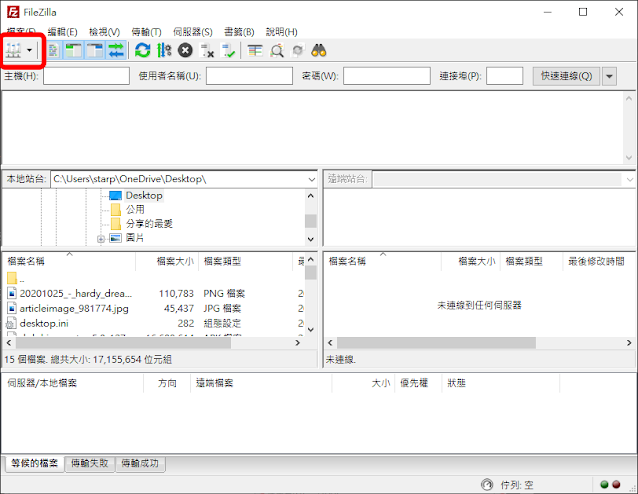
If you want to modify the C2 file, you can upload and download files through FTP. FileZilla is recommended here . After C2 is powered on, put the computer and C2 in the same Wifi domain, and click to open the site administrator.
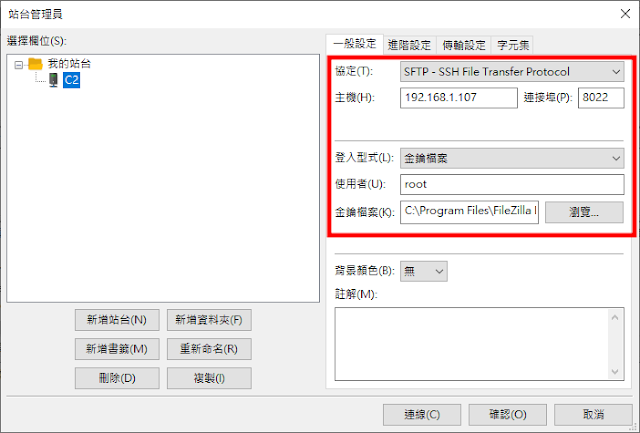
Select SFTP-SSH for the protocol, fill in the IP and Port 8022 of C2, the user fills in root (C3 is comma, and the key file selects the key file generated from OPTK above :
(Or download here )
and then you can click to connect to enter the C2 folder.
The driving recorder file is under /data/media/0/realdata/
How to SSH with Android
To connect to C2 on a mobile phone, I recommend using JuiceSSH . It is a simple and compact APP. You can first put the key file in a directory on your phone or in the root directory of the memory. First put C2 and the mobile phone in the same Wifi (or let C2 connect to the wireless base station shared by the mobile phone), and then start JuiceSSH. (Same as importing the OT key, download here )
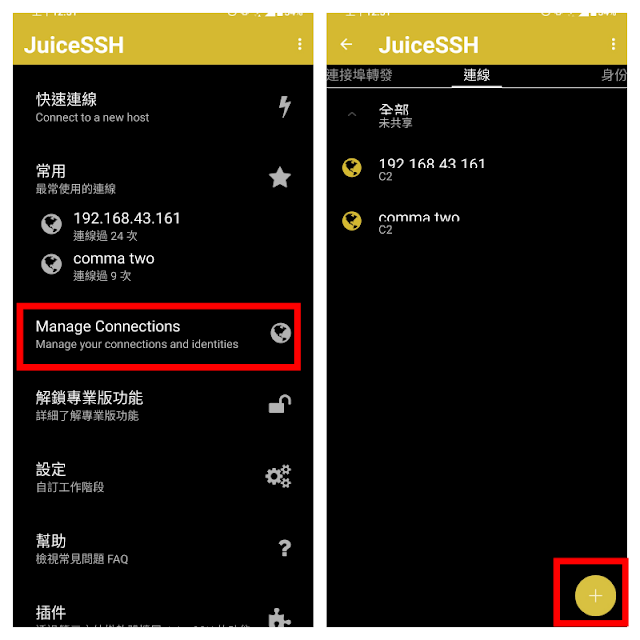
First click Manage Connections, then press the + sign on the lower right to add a new connection.
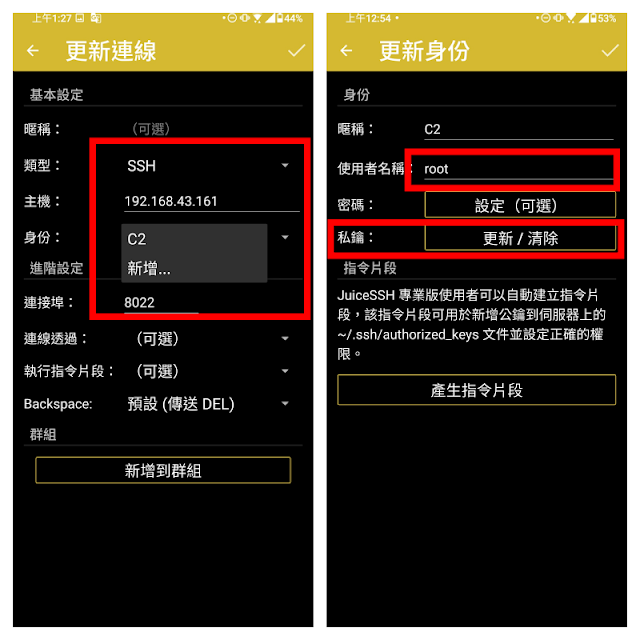
Change the connection type to SSH, the host is the C2 IP, then change the connection to 8022, and add an identity. The user name of the identity content should be root (C3 should be changed to comma), then the private key setting is imported into the key generated by OT, and the upper right corner is checked to save. Then you can click on C2’s IP on the connection page to connect to C2 with your mobile phone, and you can directly issue commands to C2 like a PC.
Android to FTP into Comma
It is recommended that Android phones use AndFTP to connect to C2 .
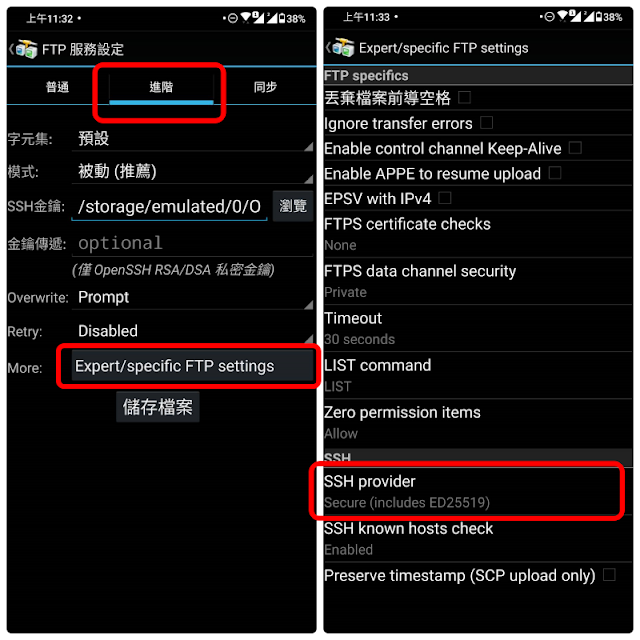
Click the + sign above to add a new connection, then fill in the IP of C2, then select SCP as the type, the port is 8022, and the user name is root. Then select the passive and SSH key in the advanced section, and the OT key downloaded previously ( Download Here ). After saving the file, you can directly connect to C2 through FTP to upload and download the file.
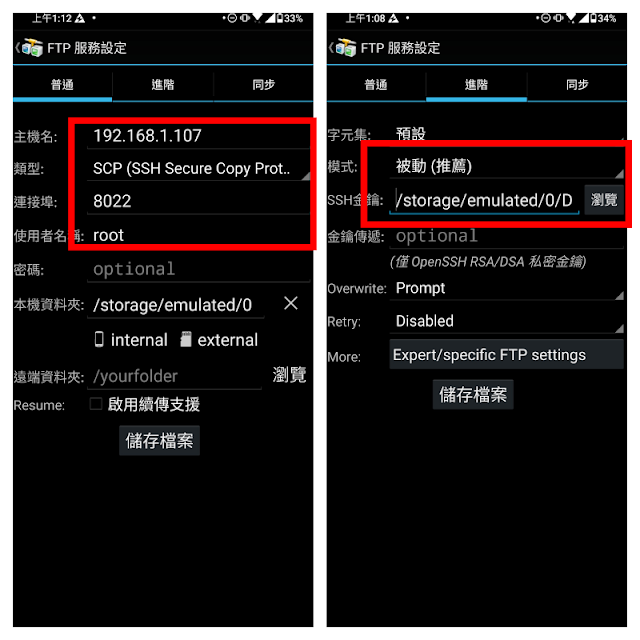
In addition to using the OT key, AndFTP also needs to go to the advanced settings, select Expert FTP settings, and change the SSH provider to ED22519 format, so that you can connect